1. Login
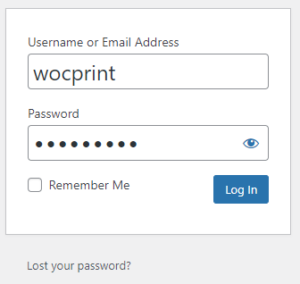
Access the login page using the provided information:
- Login URL for accessing and managing your account
- Username or email address for login
- Password
2. Admin page
Upon successful login, you will be redirected to the admin page.
On this page, navigate to the Theme Settings section in the left-hand menu to manage your website:
2.1. Manage Business Information
Business information will be displayed on your website.
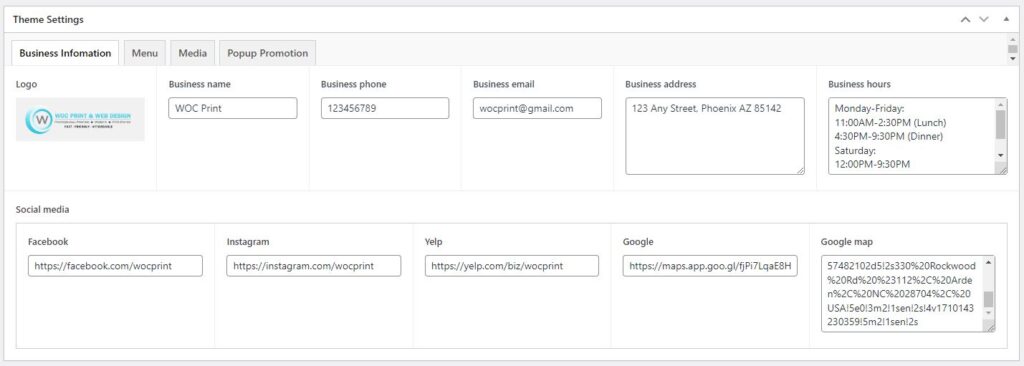
* Updating the logo guide:
- Click on Add Image in the Logo field

- Choose the Upload Files tab > click on Select Files to upload a new image from your device. Alternatively, select the Media Library tab to choose an existing image
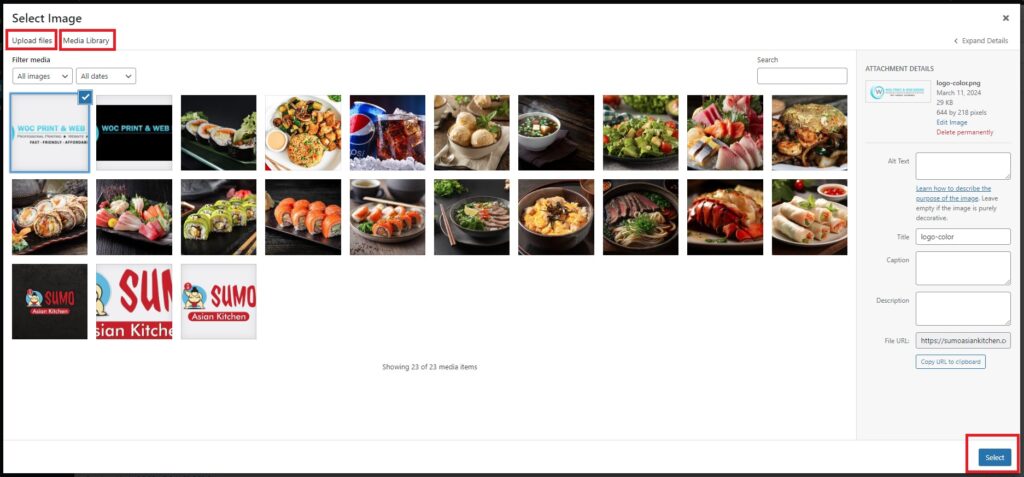
- Click on Select to upload the Logo
- Click on Update to save the changes
* Updating google map guide:
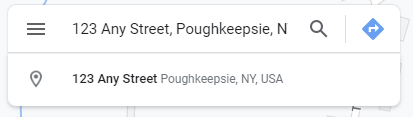
- Go to https://maps.google.com/
- Enter the address of your business in the search bar
- Select Share > Embed a map > Copy HTML
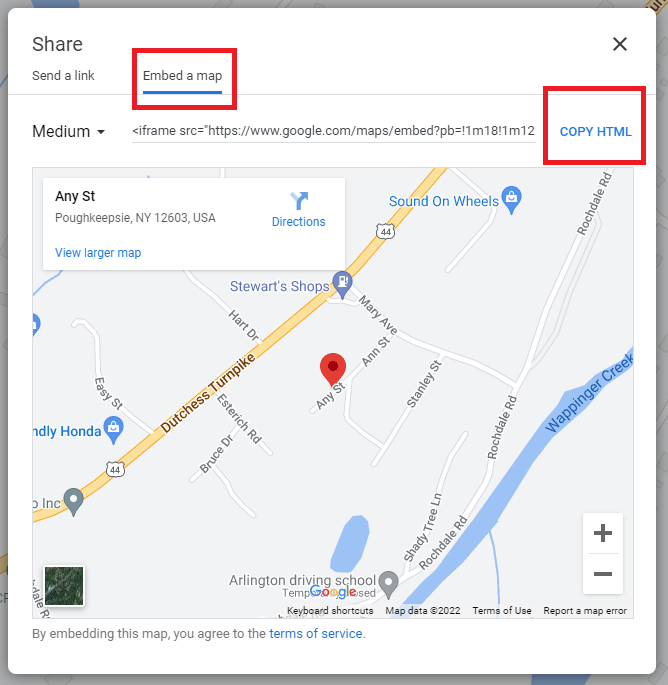
- Return to Theme Settings in the website admin page and paste the copied link into the Google map field.
- Remove any unnecessary content, leaving only the content inside the src=”…” tag
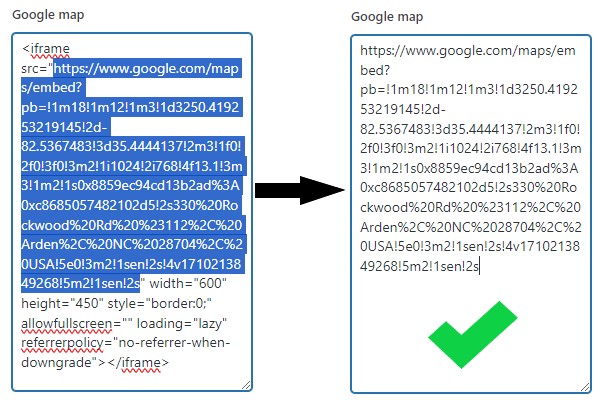
- Click on Update to save the changes
2.2. Manage Menu
2.2.1. Add/Edit/Delete Categories
* Add categories guide:
- Click on the Menu tab
- Click on Add Category to add a new category
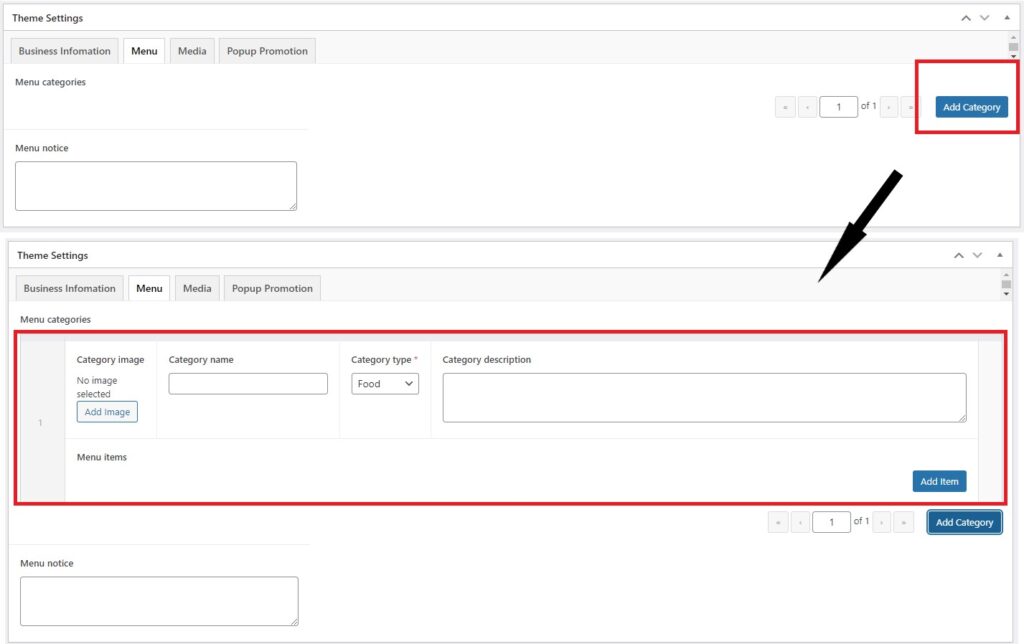
- Enter Category name
- Add Category image
- Select Category type is Drink or Food
- Enter Category description (mổ tả danh mục) if any
- Click on Update to save the changes
* Delete categories guide:
- Click on the Menu tab
- Move the mouse over the category you want to delete, at the marked position, click to collapse the category
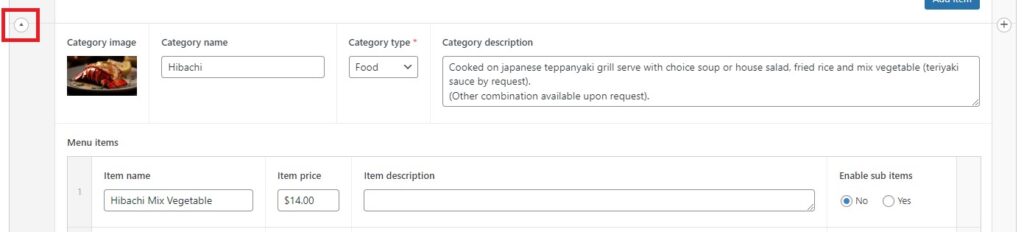
- After the category is collapsed, move the mouse to the category you want to delete. The Remove Row button will appear; click to select and confirm deletion

- Click on Update to save the changes
2.2.2. Add/Edit/Delete items in category
* Add items in category guide:
- Click on the Menu tab
- Go to the category where you want to add an item, click on Add Item to add a new item
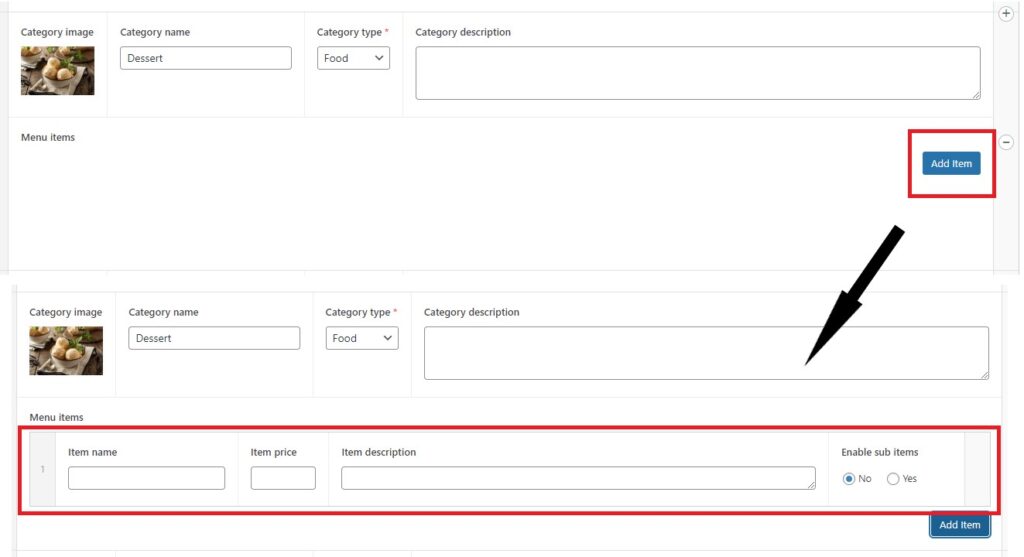
- Enter Item name
- Enter Item price
- Enter Item description
- Check No in the Enable sub items field if it’s a regular item. Check Yes if there are sub-categories within that category. Refer to the instructions in section 2.2.3 below
- Click on Update to save the changes
* Delete items in category guide:
- Click on the Menu tab
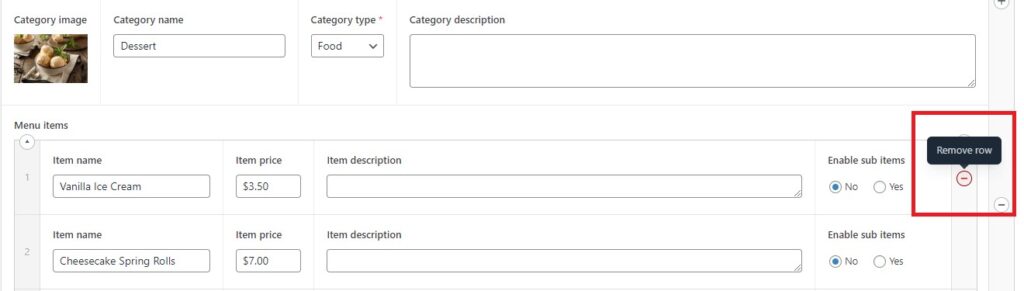
- Move the mouse to the item you want to delete in the category, the Remove Row button will appear; click to select and confirm deletion
- Click on Update to save the changes
2.2.3. Add/Edit/Delete sub-categories and items in sub-categories
* Add sub-categories and items in sub-categories:
- Click on the Menu tab
- Go to the category where you want to add a sub-category, click on Add Item, and enter the details similar to adding a regular item to the category
- Check Yes in the Enable sub items field. At this point, the item you added will be treated as a sub-category, not a regular item within the category
- The Add Sub Item button will appear; click to add an item to the sub-category
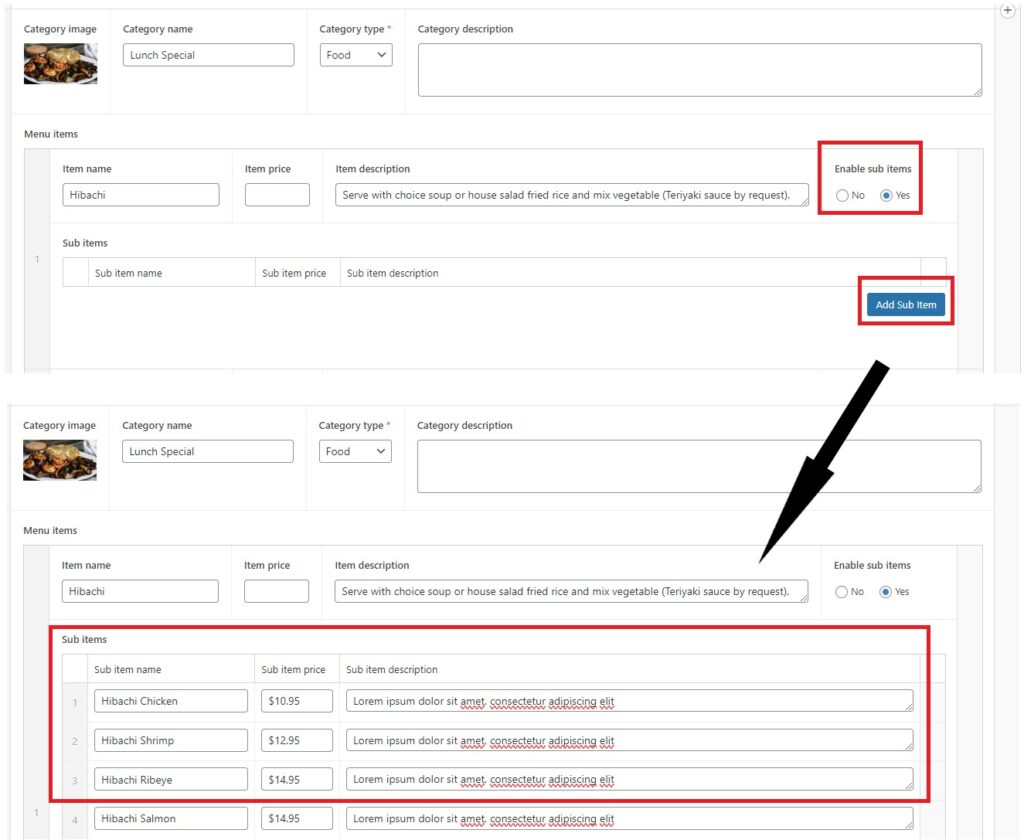
- Enter Sub item name
- Enter Sub item price
- Enter Sub item description
- Click on Update to save the changes
* Delete items in sub-category guide:
- Click on the Menu tab
- Move the mouse to the item you want to delete in the sub-category, the Remove Row button will appear; click to select and confirm deletion
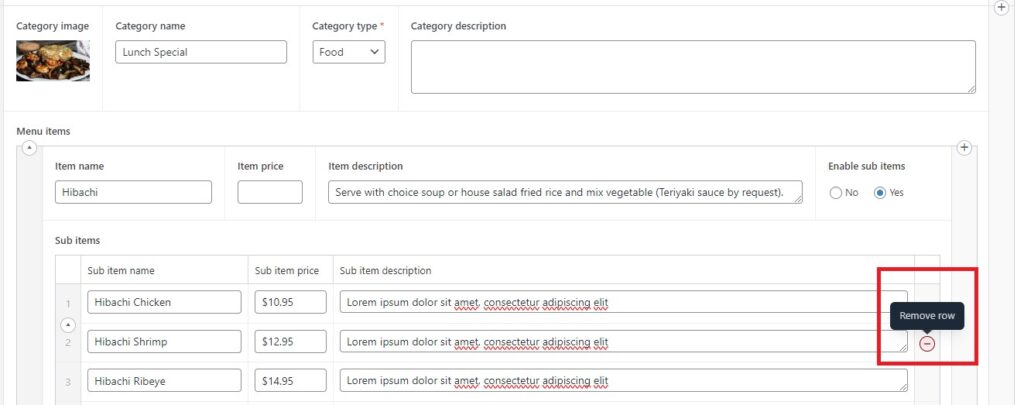
- Click on Update to save the changes
* Delete sub-category guide:
- Click on the Menu tab
- Move the mouse over the sub-category you want to delete, at the marked position, click to collapse the sub-category
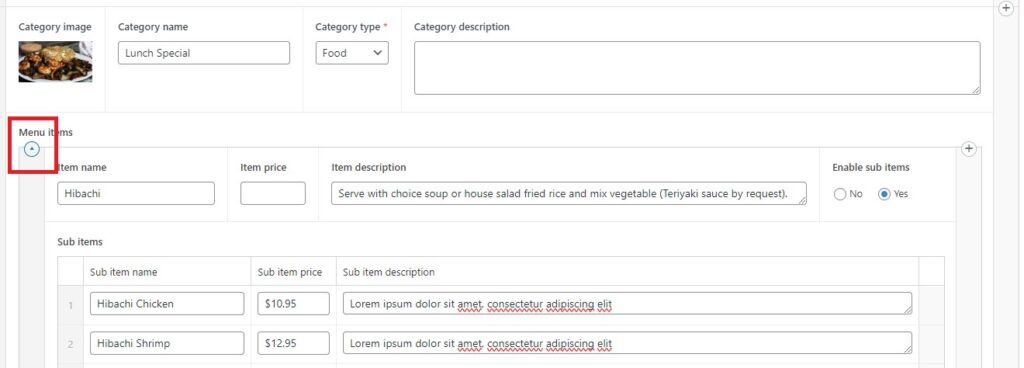
- After the sub-category is collapsed, move the mouse to the sub-category you want to delete. The Remove Row button will appear; click to select and confirm deletion. In the case where there are items within a sub-category, when you delete the sub-category, the associated items within it will also be deleted

- Click on Update to save the changes
2.3. Managa Gallery, Popup promotion
2.3.1. Gallery
- Click on the Media tab
- Click on Add Gallery to add a new gallery
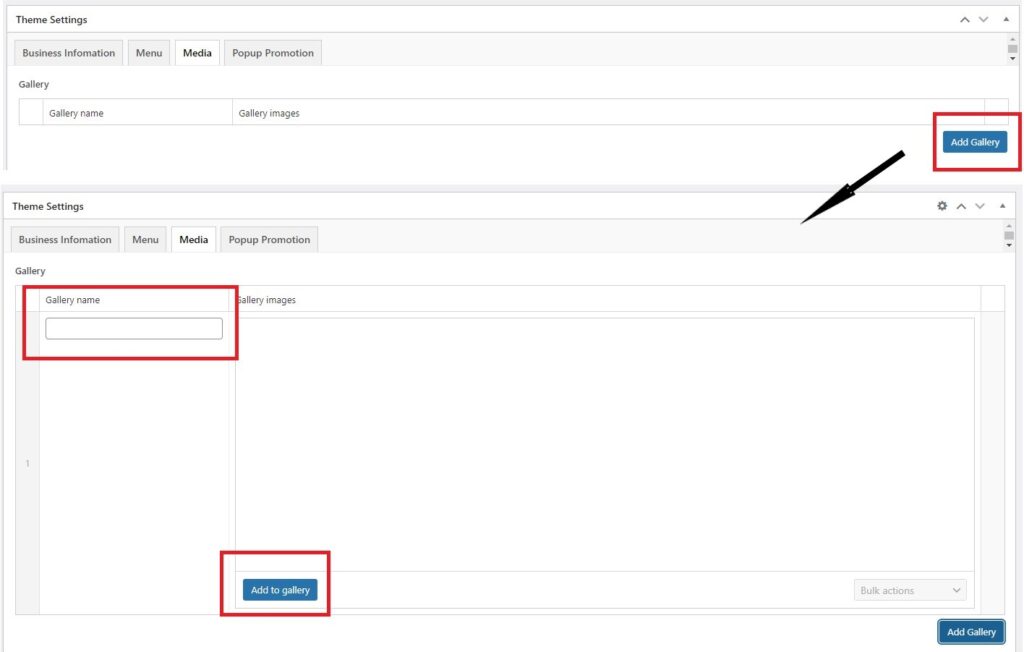
- Enter Gallery name
- Click on Add to gallery to add images into gallery
- Click on Update to save the changes
2.3.2. Popup Promotion
- Click on the Popup Promotion tab
- In the Status column, check On to enable the popup promotion feature
- Click on the Add Image button in the Promotion Image column to choose the image you want to display
- In the Display Setting column, you can check Always On if you don’t want to set an turn off date for your popup promotion. Conversely, check Scheduled Off, and the Turn Off Date column will appear. Then, you can enter the turn off date for the popup promotion.

- Click on Update to save the changes